Welcome to our Support Portal. Search for answers using the search box below, or create a support ticket if you cannot find your answer.
Creating a Timesheet Automation
Key Points
Timesheet Automations allow you to trigger actions based on timesheet activity.
They help reduce manual follow-ups and ensure important updates are not missed.
Common use cases include:
Notifications for submitted timesheets
Alerts for specific shift events (e.g. sleepovers, wake-ups)
Approval reminders
Automations are built using:
Trigger (when it runs)
Conditions (when it should run)
Actions (what it does)
Purpose of Timesheet Automations
Timesheet automations are designed to:
Monitor timesheet submissions
Trigger alerts based on specific events
Improve visibility for rostering and management teams
Ensure timely review and approval of timesheets
They are particularly useful for workflows that require oversight or validation.
Creating a Timesheet Automation
To create a new automation:
-
Navigate to the Automations section.
-
Click the Plus (+) button in the top-right corner.
This opens the automation setup screen.
Select:
Timesheet Automation
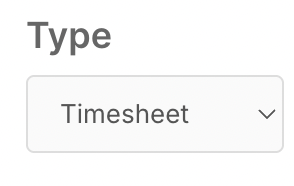
This ensures the automation is triggered by timesheet-related events.
Naming and Setting the Active Status
Enter a clear and descriptive name.
Example:
Wake Up on Shift

Clear naming helps identify the automation’s purpose, especially when managing multiple rules.
You can configure:
Valid From / Valid To dates (optional)
Enabled or Disabled status

For most automations, leave the date range blank and set the rule to Enabled.
Configuring the Trigger
Set the trigger to:
New Timesheet Submitted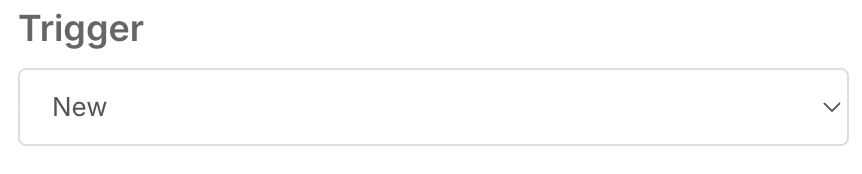
This ensures the automation runs whenever a timesheet is created.
Adding Conditions (If Statements)
Conditions define when the automation should run.
Example Conditions
Wake Up field = Modified
Sleepover field = Not Empty
This ensures the automation only triggers when:
A wake-up event is recorded
The shift is a sleepover shift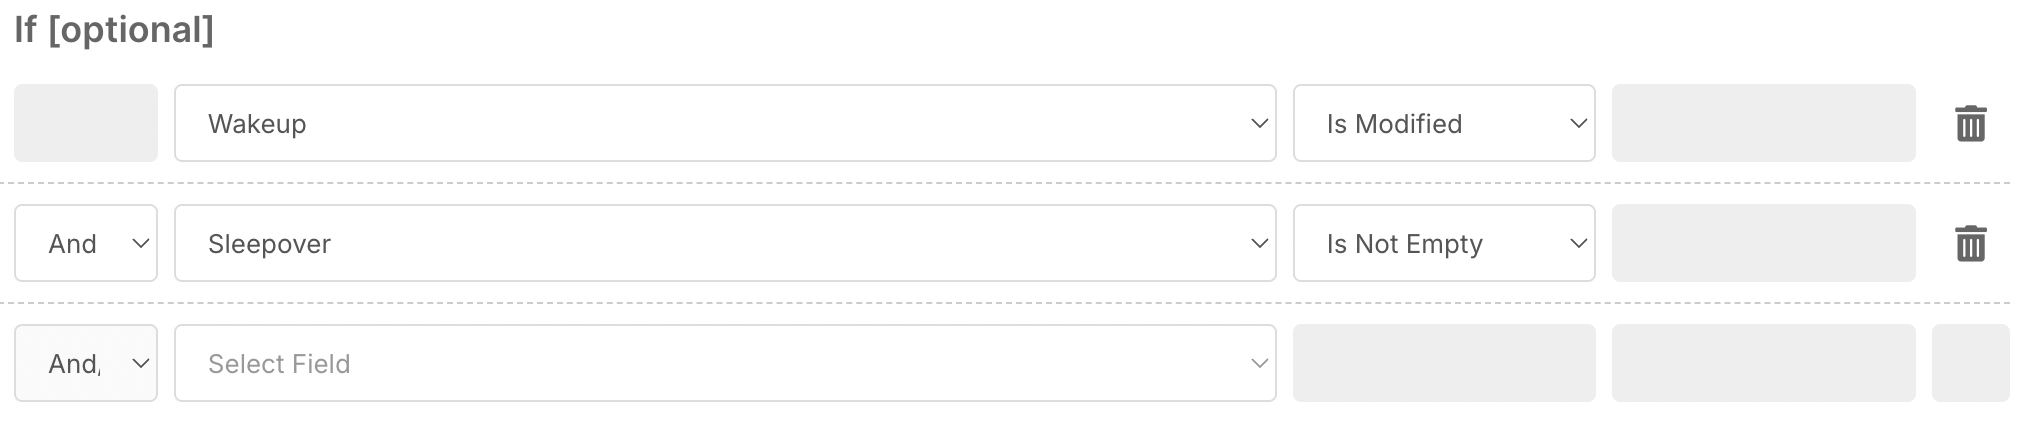
Using conditions helps target specific scenarios and avoid unnecessary alerts.
Defining the Action (Do Options)
Select the action:
Send SMS
SMS notifications are useful for:
Urgent alerts
Time-sensitive updates
Ensuring visibility outside the system
Selecting Recipients
Choose who should receive the SMS.
Common options include:
Roster managers
Supervisors
Specific staff members
You can send notifications to:
Individuals
Groups
Selecting the right recipients ensures the notification reaches the appropriate team for follow-up.
Configuring the Message
Create a clear and concise message.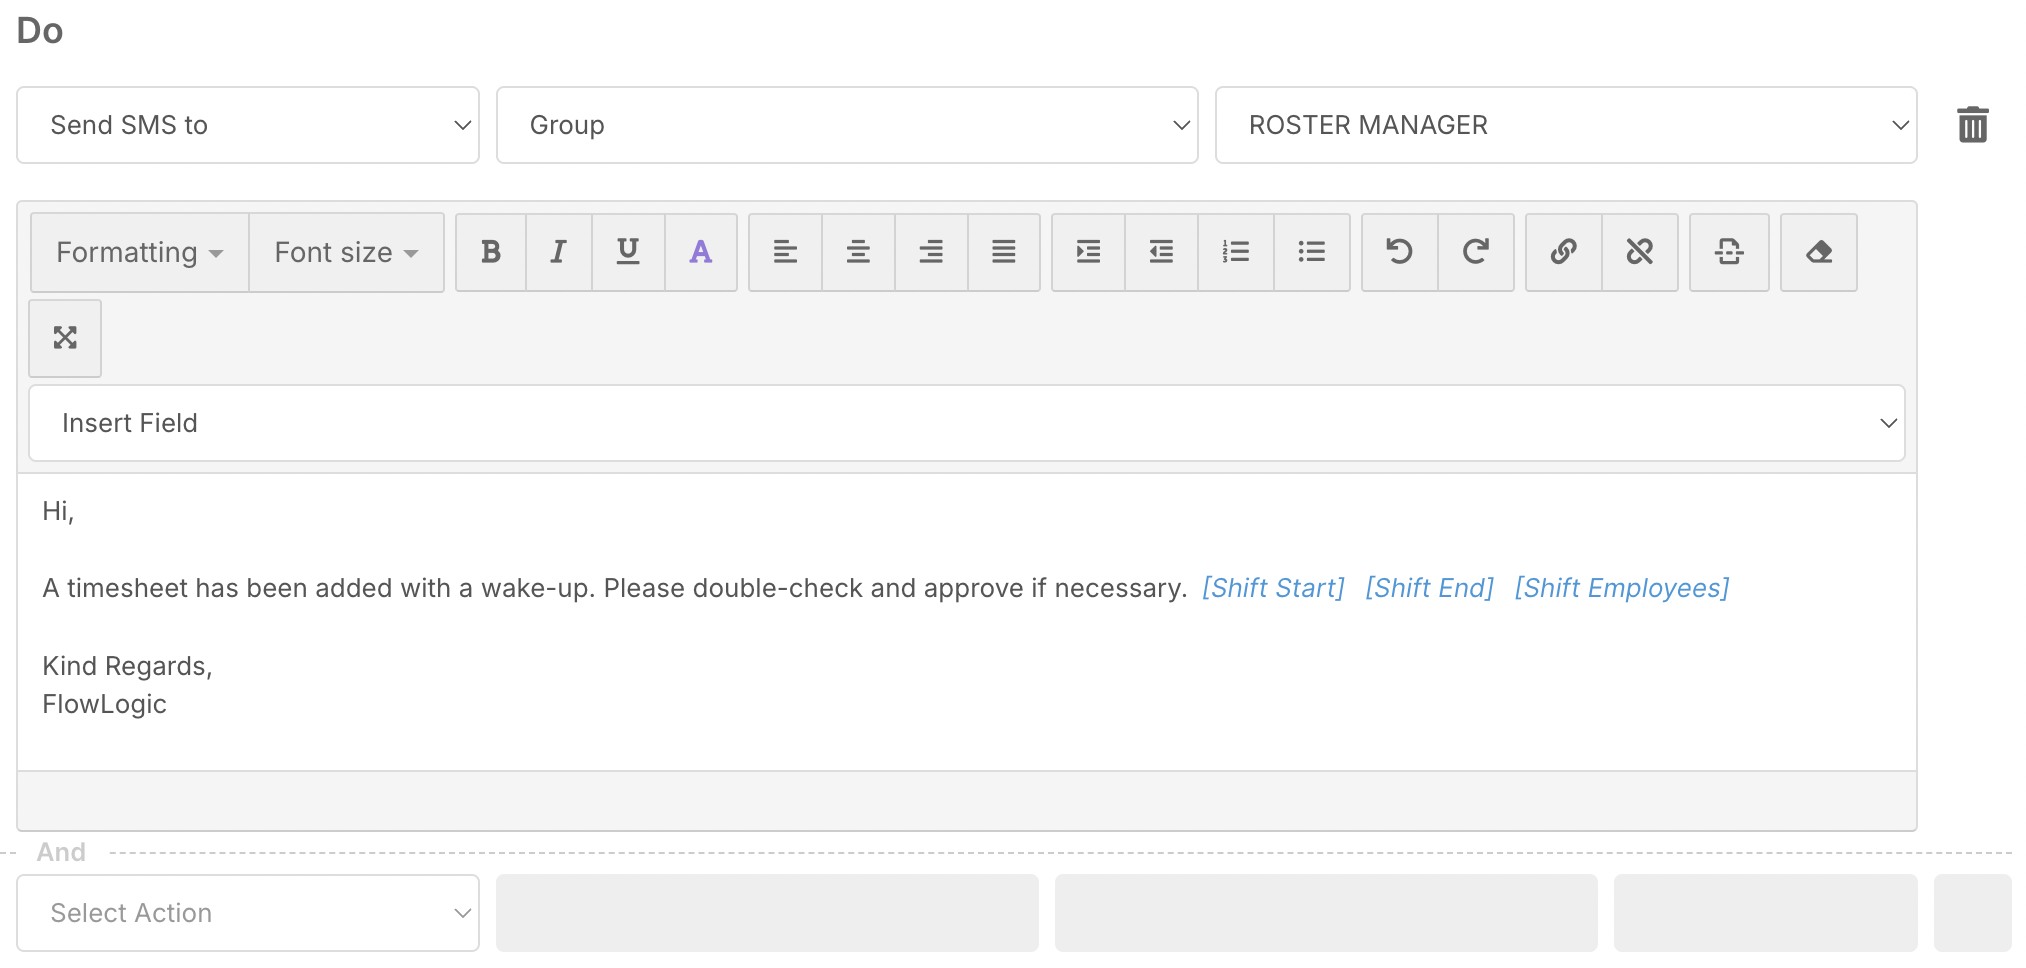
Example:
New timesheet has been added with a wake up. Please review and approve if required.
You can also include additional details such as:
Shift ID
Staff name
Links to the roster or shift
Providing context helps recipients take action quickly.
Saving the Automation
Once all settings are configured:
-
Review the automation
-
Click Save
The automation will now appear under the Timesheet Automations tab.
Monitoring the Automation
After saving, the automation will run automatically when conditions are met.
You can:
Review activity in Automation Logs
Edit or disable the automation if needed
Adjust conditions or recipients over time
Monitoring ensures the automation continues to meet your workflow requirements.
Best Practice Recommendations
✔ Use clear naming for each automation
✔ Apply conditions to avoid unnecessary alerts
✔ Use SMS for urgent or high-priority notifications
✔ Keep messages short and actionable
✔ Regularly review automation logs
✔ Adjust rules as workflows evolve
Summary
Timesheet Automations in FlowLogic allow you to automatically respond to timesheet events, improving visibility and reducing manual processes.
By combining triggers, conditions, and actions, you can ensure that important updates — such as wake-up events on sleepover shifts — are flagged immediately.
When used effectively, these automations help maintain efficient workflows, timely approvals, and accurate timesheet management.